


So, I decided to get off Facebook for a week or two: no messages, no notifications. I wanted to get away from the endless photo tags, group notifications that never seem to stop and many other things I don’t seem to like about the place. I could simply decide not to log in but the pile of notifications and private messages that would be waiting after those few days would be rather too much. I thought the best thing to do was to deactivate my account for a while. I checked the settings and found out I actually have two options:
1. Permanently delete the account
2. Temporarily deactivate it
I prefer the second option because I would still be needing the account, just wanted to get off Facebook for a while. I may want to convert it from a personal profile to page later but before I deactivated the account, I made sure I transferred admin roles of my fan pages to another account. Also, I made sure I edited admin roles for my Facebook apps and added a new admin using my private Facebook account (for family and real friends only) so as not to break anything.
So, with that in place, I did what I had to do.
How to permanently delete your Facebook account
Now, if you still intend to use your Facebook account later in the future, you should use the second option which I’m going to explain afterwards. Using this method deletes your Facebook account: photos, videos, updates, notes… everything you’ve ever shared on Facebook (I really don’t know if Facebook actually deletes your personal info from their database anyway).
- Go to this page
- Hit the Delete My Account button
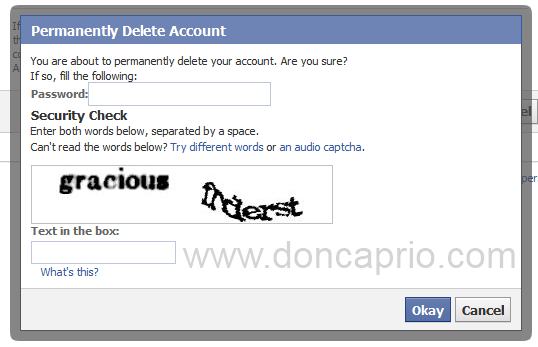
- Enter your password and fill in the captcha.
You account should now be permanently deleted within 14 days. If you change your mind, you can log in to Facebook before 14 days but if you don’t, your account will be completely deleted and this is not reversible.
How to Temporarily Deactivate your Facebook Account
This is the option I went for cuz it’s safer and sounded more like what I needed. You can always log back in whenever you need to use the account again but while it’s deactivated, your friends can’t interact with you; it’s like taking a break from FB.
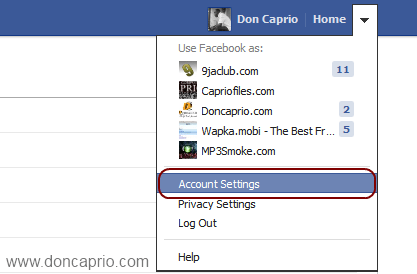
- Go to your Account Settings from the top-right menu
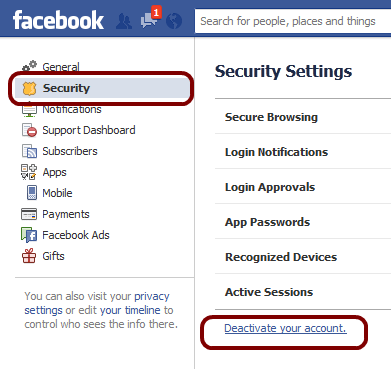
- Click on Security, then “Deactivate your account” as shown below:
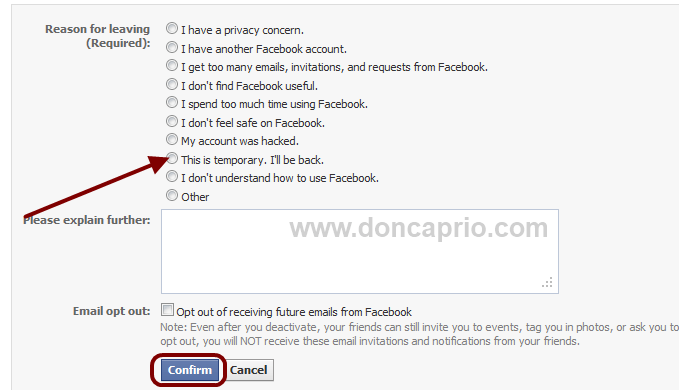
- On the next page, select your reason for deactivating your account and hit the “Confirm” button.
- Enter you password, fill the captcha verification and that’s it. Your account will be deactivated but you can always activate it back anytime you want by simply logging in to Facebook with your normal log in details.


